March 17, 2026
Explore everything you need to know about drywall installation, from choosing the right materials to hiring professional drywall contractors for the job. Drywall installation is a critical component of interior construction, providing smooth surfaces that are ready to be painted or finished. Understanding the intricacies of drywall installation can save you time and money while ensuring the integrity and aesthetics of your walls and ceilings. This guide will help you navigate each step of the process, whether you plan to complete the project yourself or hire experienced drywall contractors.
Prepare the Framing and Support Structure
The foundation of a successful drywall installation begins with proper framing and furring strips. Framing is especially critical as it provides the necessary support structure for the drywall to be attached. Ensure that the wooden or metal studs are spaced evenly to facilitate easy attachment of drywall panels. Furring strips, when needed, provide an additional layer of support and are often used to adjust the height and levels of the surface where drywall will be attached.
Using high-quality materials for framing and furring strips lays a robust groundwork for your drywall project. Ensure that the framing is square and plumb to avoid complications during the drywall panel hanging phase. Proper alignment of the framing can prevent common issues such as uneven surfaces and drywall cracks. Additionally, maintaining structural integrity during this phase is crucial, as poorly installed framing may compromise the entire drywall system.
Experienced drywall contractors often emphasize the importance of precision and quality in the initial stages. According to Home Guide, a proficient 4-person crew can expedite this process, hanging 45 to 80 sheets per day, covering an extensive 1,500 to 2,500 square feet. This efficiency, however, relies heavily on the meticulous and correctly executed framing work done beforehand. Investing in quality framing is paramount to achieving the best results in your drywall installation project.
Hang and Secure Drywall Panels Accurately
After preparing the framing, the next step is to cut and hang the drywall panels accurately. Careful measurement and cutting ensure that the panels fit snugly and securely to the framing, minimizing gaps and seams. To begin, measure each section of wall or ceiling precisely and use a utility knife to score and snap the drywall sheets to the required size. Hanging the panels typically begins at the top of the wall, allowing gravity to aid in their proper placement.
When hanging drywall, it is essential to stagger the seams to increase the strength and durability of the finished surface. Professional drywall contractors use screws to fasten the panels securely to the studs. This strategic placement reduces the risk of the drywall bowing or buckling after installation. Irregular or loose attachment can lead to future repairs, underscoring the importance of precision during this stage.
Professional contractors find specialty tools beneficial during this step. Tools like drywall T-squares and electric screwdrivers can streamline the process, making cuts more accurate and installations quicker. It often pays to follow expert advice during this phase; as noted, a drywall installer crew can be highly efficient, managing large quantities of sheets when precision tools and methods are employed. Efficiency at this step lays the groundwork for fewer repairs and smoother subsequent processes like taping and mudding.
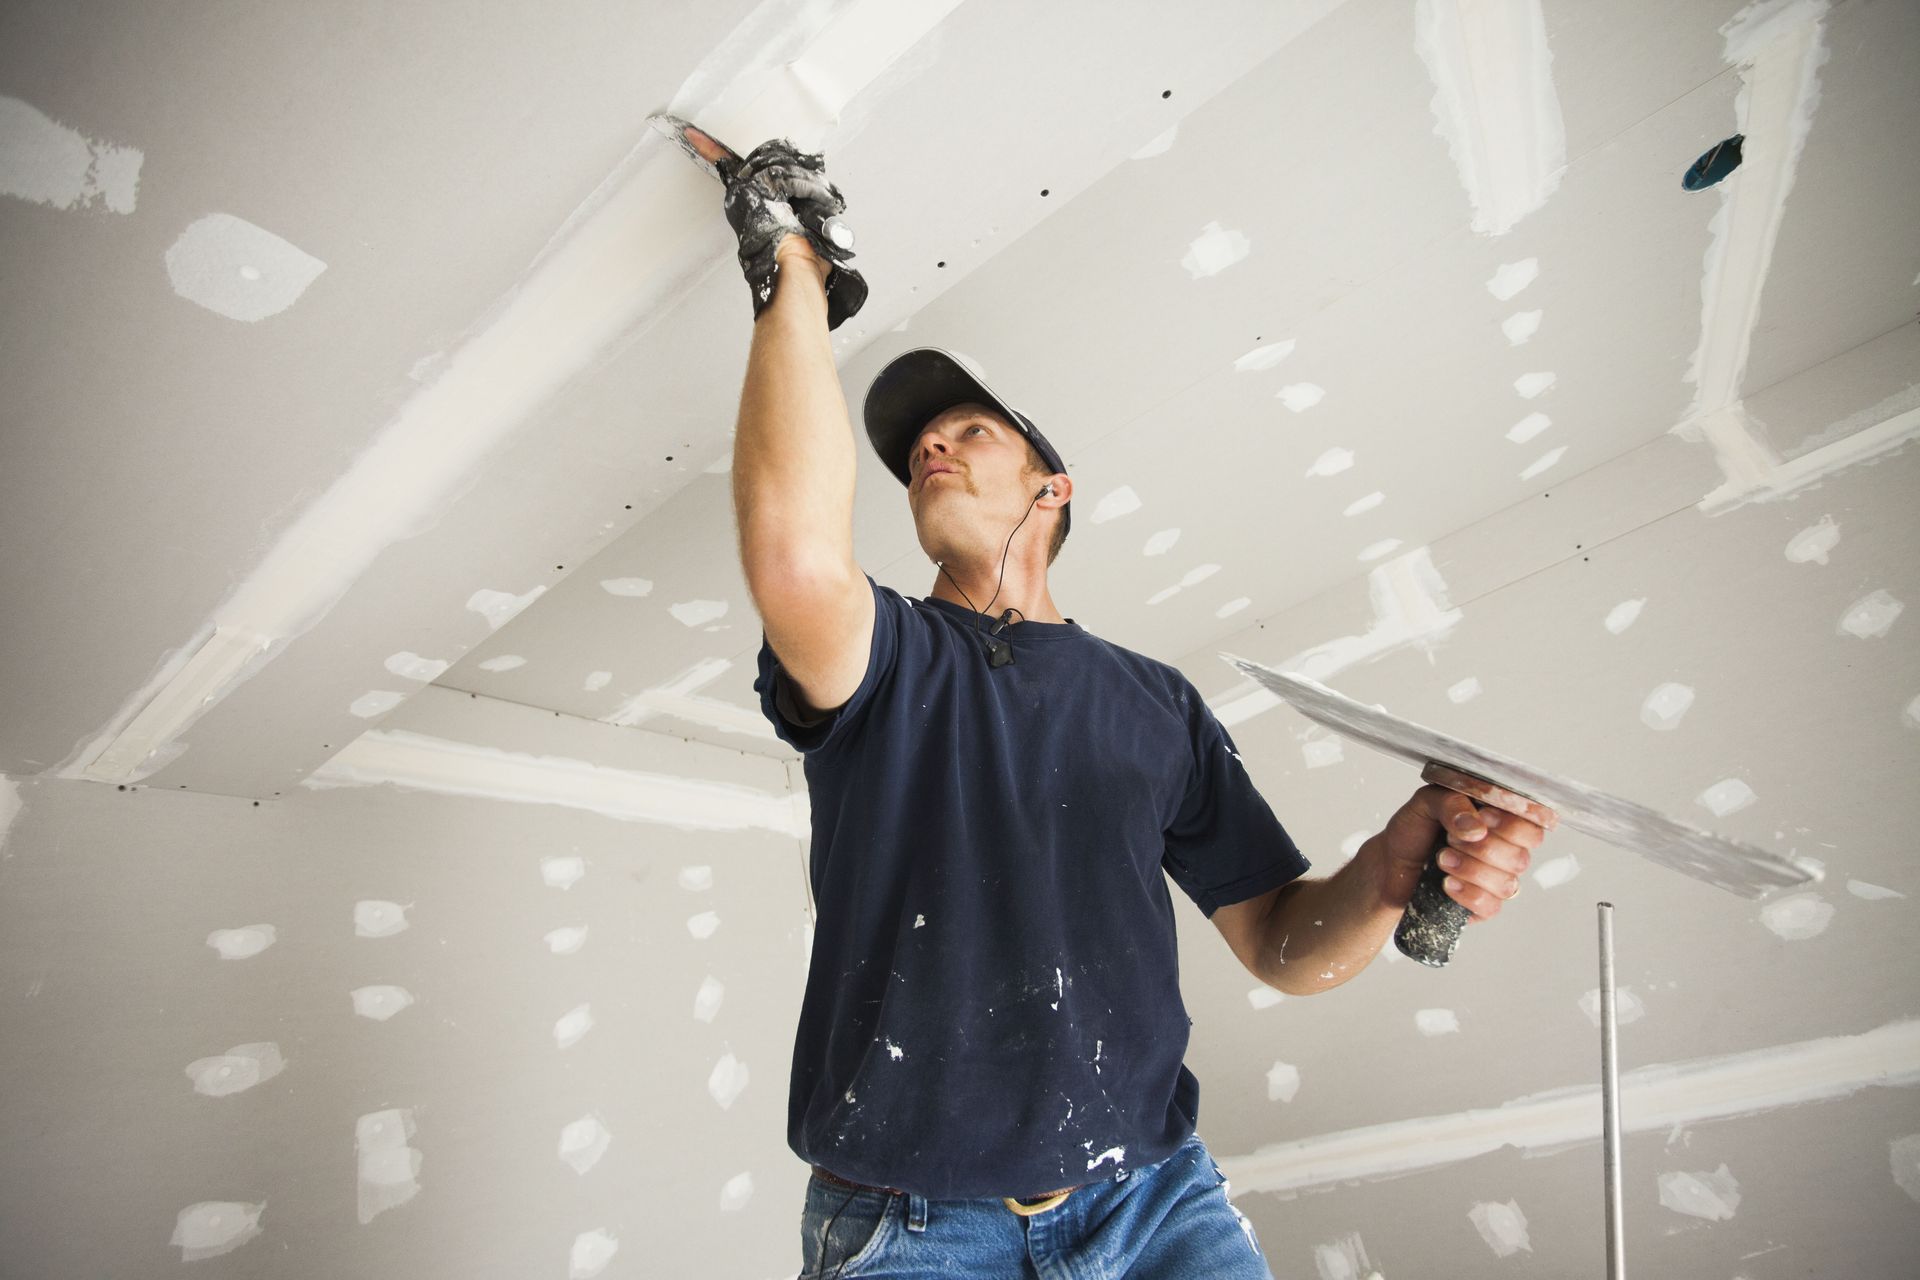
Tape and Apply Joint Compound to Seams
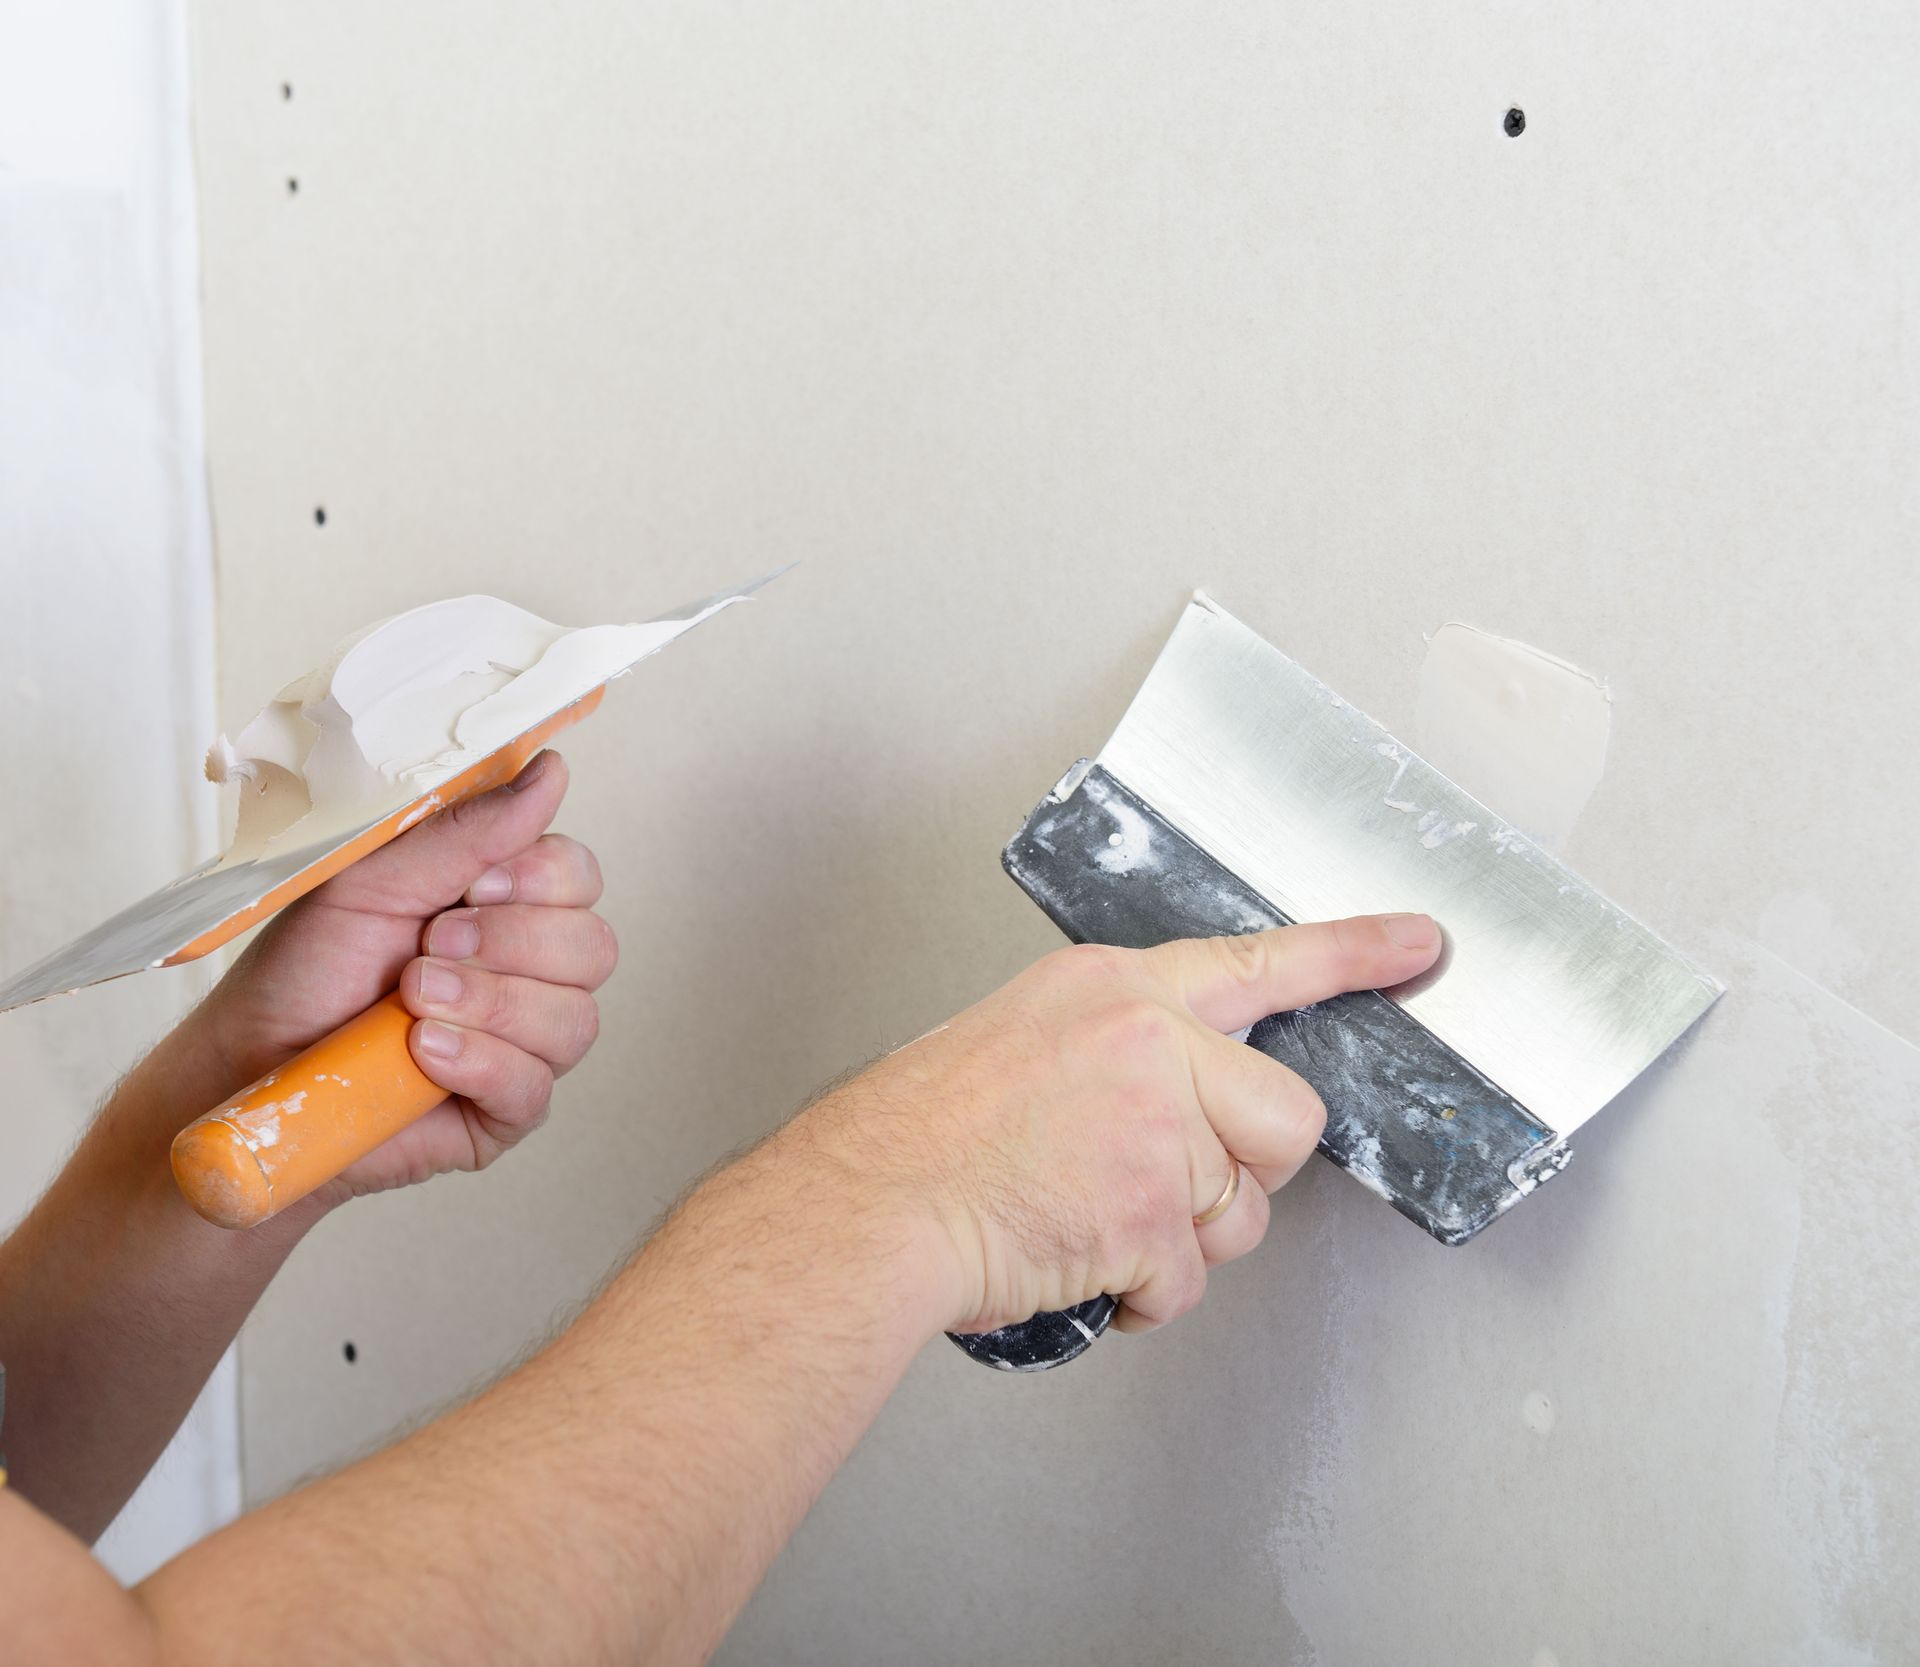
Once the drywall panels are securely in place, the next critical step is taping and mudding the seams. This process involves applying joint tape and compound (often referred to as "mud") over the seams to create a seamless transition between panels. The first coat of mud fills the seams and provides a sturdy base for subsequent layers. Proper technique in applying joint tape and compound is essential for preventing cracks and ensuring a smooth wall surface.
After the first coat, the surfaces need to dry thoroughly before applying additional coats. Professional drywall contractors often apply multiple layers of mud, sanding between each layer to achieve a perfectly smooth finish. This step is meticulous and time-consuming but is crucial for ensuring that the seams are completely concealed and that the transition between panels is undetectable. The quality of taping and mudding directly impacts the final appearance of the drywall installation.
Attention to detail is essential during the mudding process, as imperfections can become painfully apparent once the walls are painted. Expert techniques can prevent common issues such as "flash" or uneven texture on the drywall surface once it is finished. By using high-quality joint compound and following proper drying times, contractors can ensure that the seams become invisible under a coat of paint.
Sand and Finish Surfaces Smoothly
With the seams adequately mudded, the next step involves sanding and finishing the drywall. Sanding smooths out any imperfections, creating a surface that is ready to be primed and painted. Begin with a coarse-grit sandpaper to tackle the larger ridges, and gradually use finer grits to achieve a smooth finish. A pole sander can help reach higher areas efficiently, while ensuring even pressure across the entire surface.
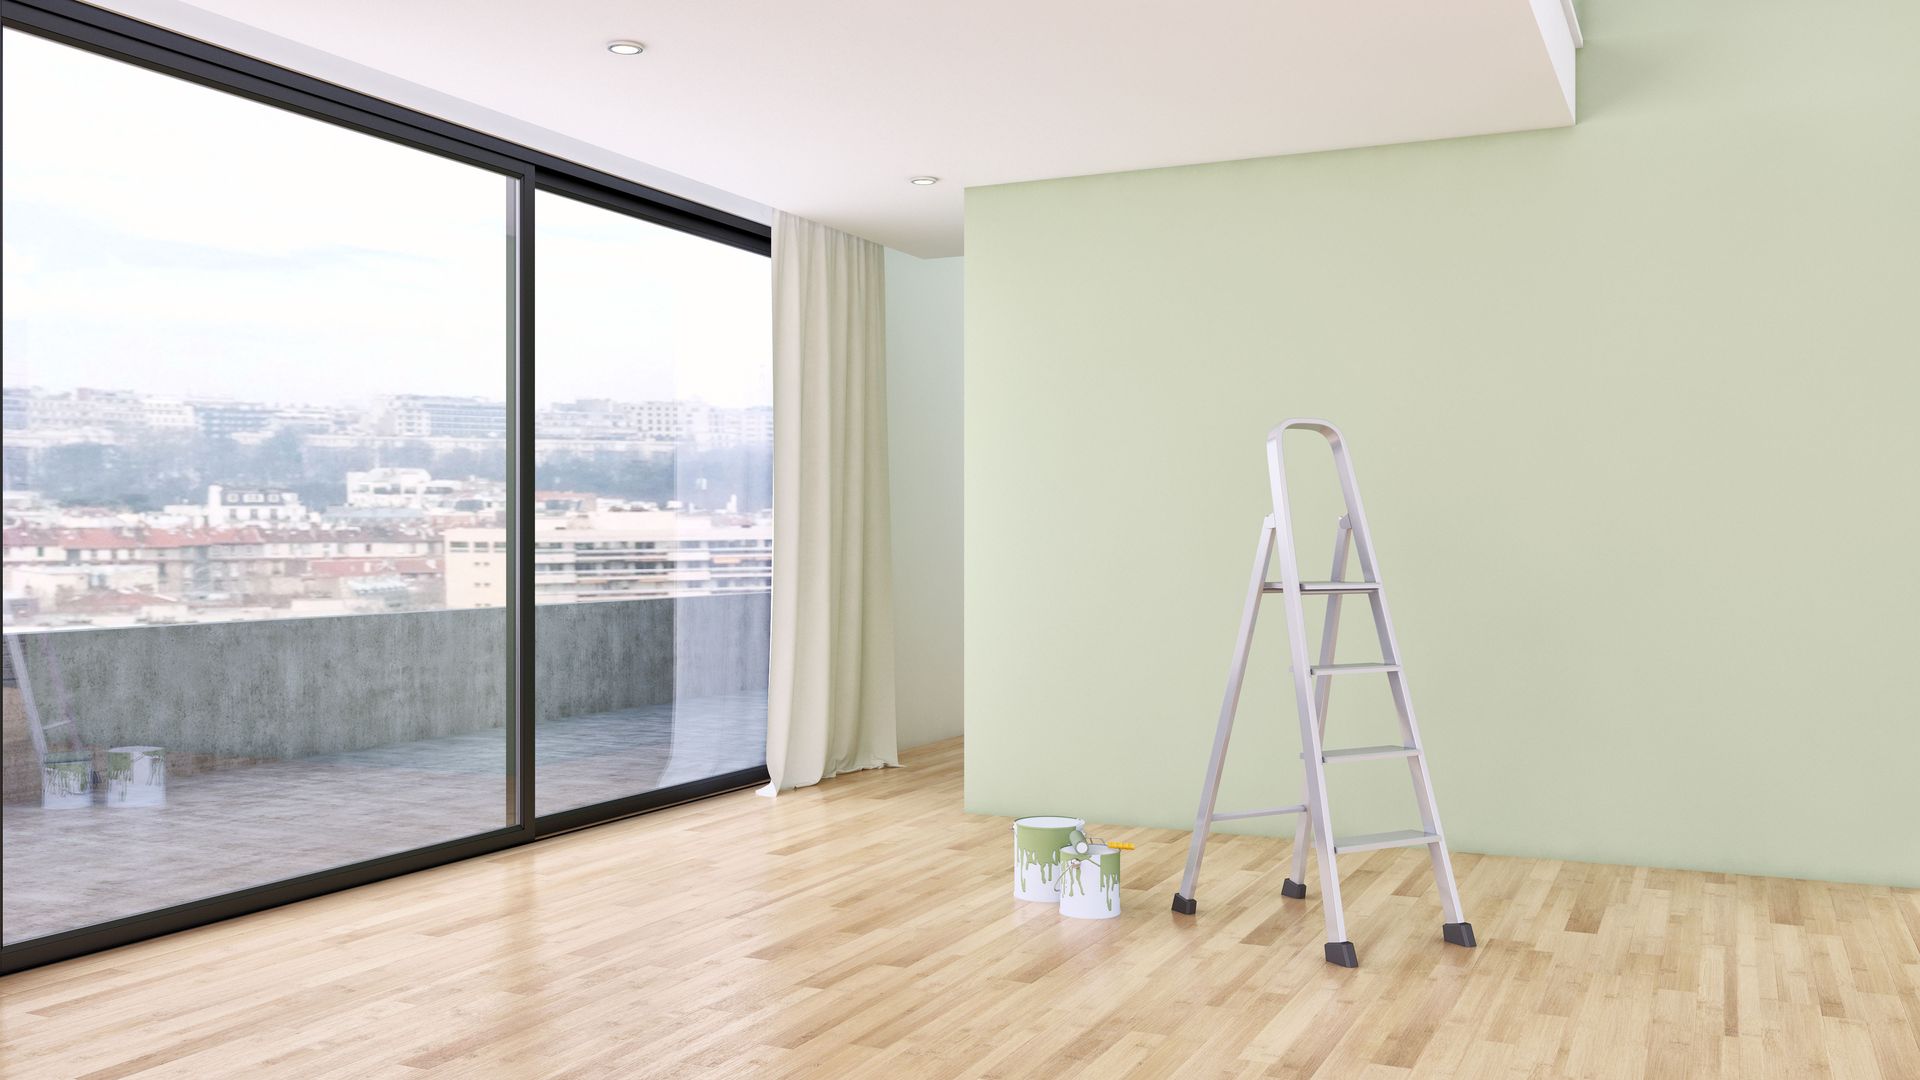
Care is required during sanding to avoid damaging the drywall paper, as excessive force can create rips and additional repairs. Drywall contractors frequently use dust-reducing sanding equipment to maintain a clean workspace and protect their respiratory health. The choice of primer and paint also influences the final appearance, making it imperative to select quality products that will enhance the durability and aesthetic of the completed installation. Attention to detail in finishing will yield the best results and set the foundation for successful painting.
Painters and drywall contractors often collaborate to ensure that the surface is optimally prepared for finishing touches. According to some seasoned contractors, the finesse involved in this stage is what distinguishes a good drywall job from a great one. Achieving a seamless, smooth surface is essential, as leftover blemishes or uneven areas can mar the finishing phase. A thorough inspection during and after sanding can help ensure that the final quality meets expectations and withstands scrutiny.
Inspect and Ensure Quality of Installation
Upon completing the installation, an inspection helps verify the quality and durability of the drywall work. Professionals should conduct a thorough walk-through, examining all seams, corners, and surfaces for anomalies. Issues such as improper joint filling, shadowing, or nail pops should be addressed immediately to prevent long-term damage or the need for additional repairs. This stage is crucial to ensure that the work passes the necessary building codes and exhibits a professional finish.
While some individuals opt to hire professional drywall contractors for the entire process, others choose contractors to perform the final inspection or correct any mistakes. Professional contractors offer invaluable expertise that can save time and avert costly mistakes. Their experience and familiarity with industry standards ensure a caliber of work that might be challenging to achieve without formal training and numerous projects completed under their belt. This makes hiring drywall contractors a wise investment for ensuring the ultimate success of your project.
Understanding the comprehensive process of drywall installation will ensure a successful project. By mastering each step, from framing to finishing, you secure the longevity and appeal of your walls and ceilings. With careful planning, precision, and perhaps the assistance of skilled drywall contractors, your drywall installation can reflect the quality craftsmanship and dedication involved. Each phase plays a pivotal role, and thorough knowledge ensures a smooth result that will stand the test of time. Reach out to Donovan's Painting & Drywall to learn more about our services today.